Introduction: Endoscopes play a vital role in modern medicine, allowing healthcare professionals to visualize and diagnose conditions within the human body. Proper Endoscope Disinfection Solutions are crucial to prevent the transmission of infections and maintain the equipment’s functionality. In this blog, we will guide you through the essential steps involved in cleaning, disinfecting, and sterilizing an endoscope, ensuring both patient safety and the longevity of the equipment.
Detailed Endoscope Disinfection Solution
1. Pre-Cleaning:
Before starting the detailed cleaning process, it is crucial to conduct a pre-cleaning step immediately after using the endoscope. Here’s how to do it:
- Close all valves and stopcocks to prevent leakage.
- Remove any visible debris, blood, or bodily fluids from the endoscope using a clean cloth or sponge.
- Flush the endoscope channels with an enzymatic cleaner or detergent solution to break down organic materials.
2. Manual Cleaning:
Manual cleaning is a vital step in the process, where you thoroughly clean the endoscope to remove any remaining organic material. Follow these steps:
- Prepare a cleaning solution as recommended by the endoscope manufacturer. Usually, it is a non-enzymatic, pH-neutral detergent.
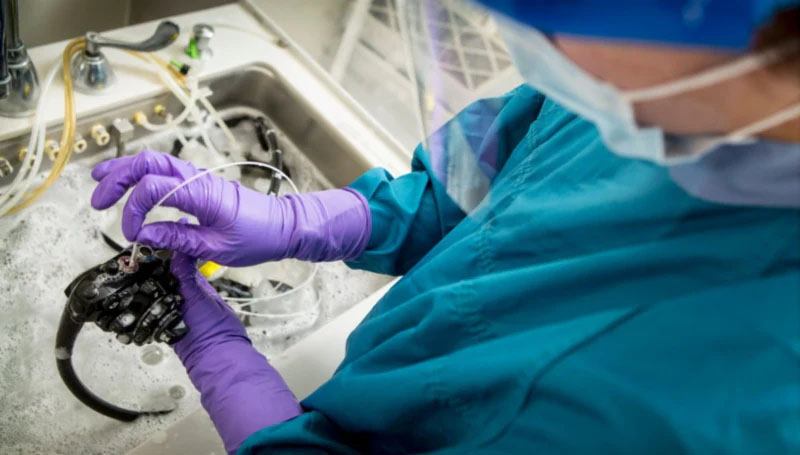
- Submerge the endoscope and its accessories, such as biopsy forceps and brushes, in the cleaning solution.
- Use a soft brush or sponge to clean the external surfaces of the endoscope, paying special attention to hinges, switches, and control knobs.
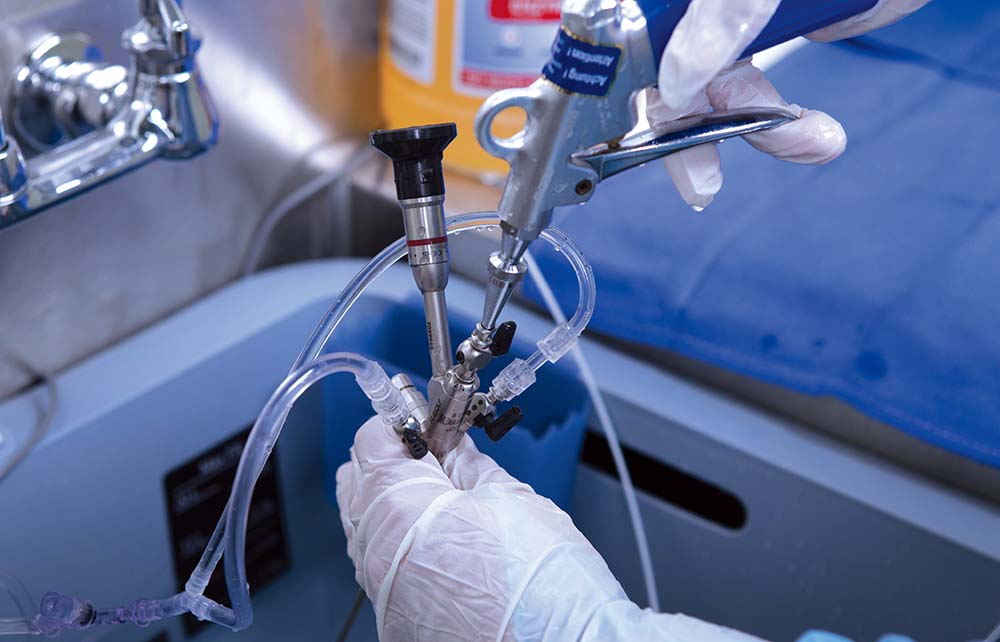
- Flush all the channels with the cleaning solution, using a channel brush or flushing pump to remove any residue or debris.
- Rinse the endoscope and accessories thoroughly with warm, clean water to remove any cleaning solution residue.
3. High-Level Disinfection:
After manual cleaning, high-level disinfection is necessary to kill or inactivate any remaining microorganisms. Follow these steps:
- Fill a disinfection container with a high-level disinfectant solution recommended by the endoscope manufacturer. Commonly used disinfectants include glutaraldehyde, ortho-phthalaldehyde, and peracetic acid.
- Submerge the endoscope and its accessories in the disinfectant solution, ensuring that all channels are filled.
- Follow the manufacturer’s instructions regarding the exposure time required for effective disinfection.
- Gently agitate the endoscope during the disinfection process to ensure complete coverage.
- After the recommended exposure time, remove the endoscope from the disinfectant solution.
4. Rinse and Drying:
Thorough rinsing and proper drying are essential to remove any residual disinfectant and prevent microbial growth. Here’s what you should do:
- Rinse the endoscope and accessories with sterile water or an appropriate rinsing solution, ensuring that all channels are flushed.
- Pay attention to areas where disinfectant residue may accumulate, such as valves and connectors.
- After rinsing, dry the endoscope by passing filtered air through all channels. Avoid using compressed air, as it may introduce contaminants or damage delicate components.
- Ensure the endoscope is completely dry before storage to prevent bacterial growth.
5. Sterilization (Optional):
In certain cases, such as when using the endoscope on patients with compromised immune systems, sterilization may be necessary. Sterilization processes typically involve the use of heat, ethylene oxide gas, or hydrogen peroxide plasma. However, it’s important to note that not all endoscope models can be sterilized due to their delicate components. Refer to the manufacturer’s guidelines to determine whether sterilization is appropriate for your endoscope.
Conclusion: Proper Endoscope Disinfection Solutions are crucial for patient safety and equipment longevity. Contact uzzmed.com online to get more details about endoscopes.


